
Studio A Design Project: Evo X Front Fascia Master Pattern & Mold Design
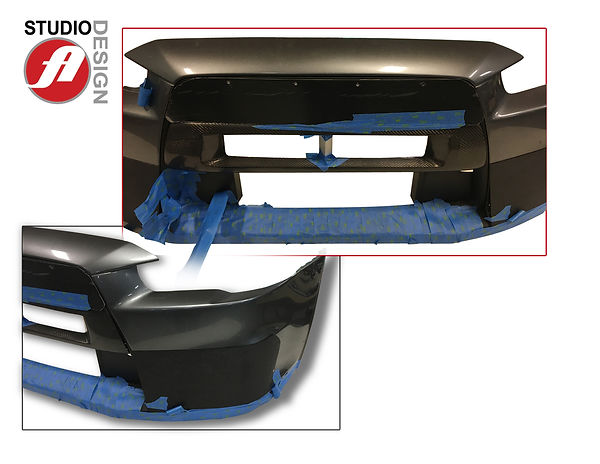
To begin the process of building a custom Evo X Fascia I was supplied with this mock-up by the customer. As you can see, bits & pieces were taped and otherwise affixed to an original OEM part. This was a perfect way for the customer to communicate their basic intent.
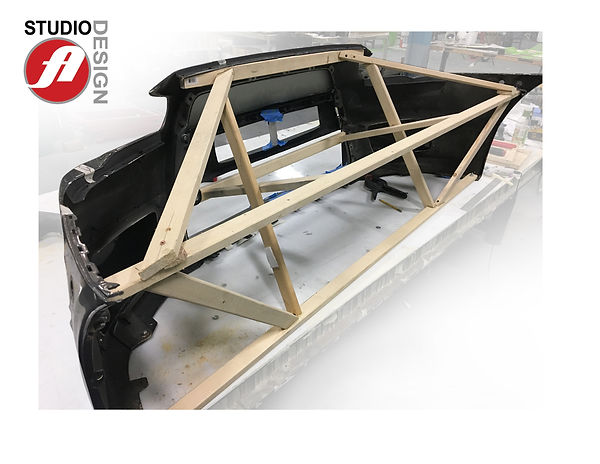
To ensure the Custom Evo X Fascia maintained it's shape (and fit to the vehicle) I built a wooden fixture that had to be light weight, keeping in mind I would have to carry, rotate, and otherwise maneuver this over the entire course of project.
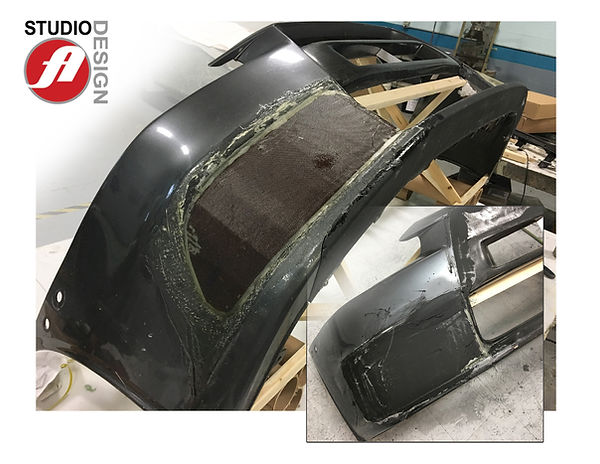
Once fixtured, I began transposing customer supplied bits with fiberglass and polyester body filler to patch-in & eliminate the OEM air-inlets, etc.
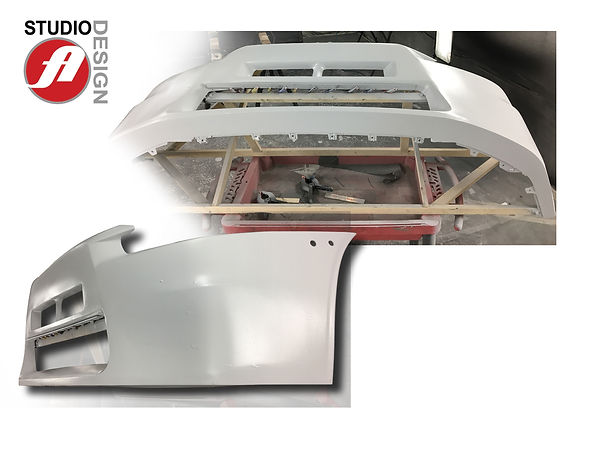
Once the fascia was closely body-worked to shape, I spray a final layer of heavy-build primer to allow for a pre-clear-coat finish.
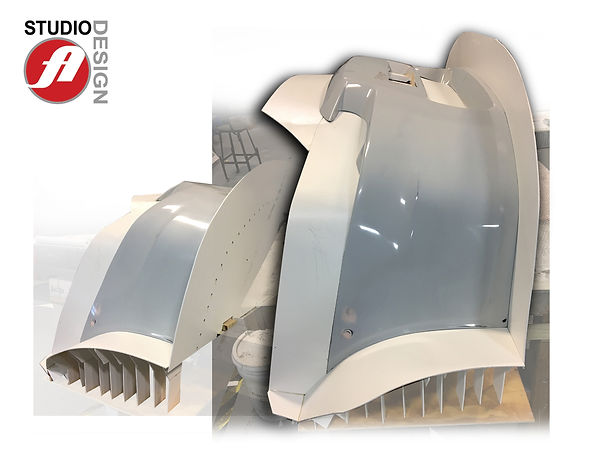
Here, you can see the Custom Bodywork has been clear-coated, wet-sanded, and polished. This final finish/polish is important as it will be translated, directly, into the fascia's mold surface. Carbon Fiber parts will look exactly like this surface assuming no issues with infusion. White, "flanges", are added to the master pattern now. These flanges become the outer perimeter of the mold.
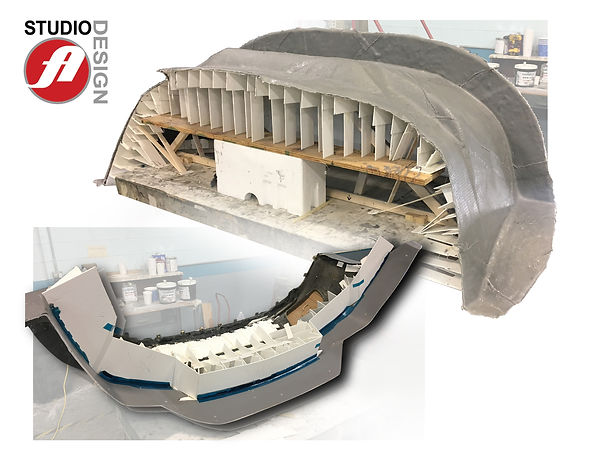
This is an image directly after the main portion of the mold has been laid-up using Epoxy Resin and Fiberglass (top image). After the main piece has been completed, the entire assembly is flipped, allowing me to build flanges for the second part of the mold. Due to undercuts this pattern will be a three-part mold.
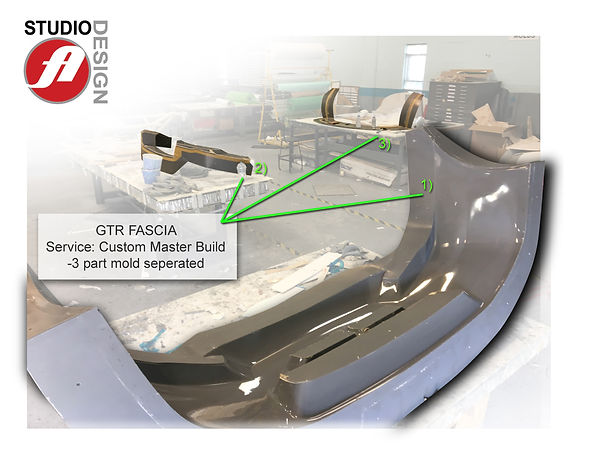
Finally compete, this three part Custom Mold is ready to be sealed in preparation for Carbon Fiber Lay-Up and Vacuum Bag Infusion. Each section of this three piece mold will be laid up separately then assembled prior to infusion.

And, at last, this is what the Carbon Fiber part looks like, "hot off the press", so to speak...once fully cured and pulled from my mold. You can see the Carbon Fiber extends past the body profile (areas that extend into the flange). This is critical for the Carbon Fiber Artisan to achieve a seamless transition of weave-pattern and bias. A steady hand later trims-out the final part to these defined edges. This photo and Carbon Fiber lay-up is courtesy of Dustin Summer, of Prototype Composites. "First Layer", lay-up of Carbon Fiber is a true art that can only be achieved by Master Carbon Fiber Techs that spend years mastering this skill. Beautiful work, Dustin!